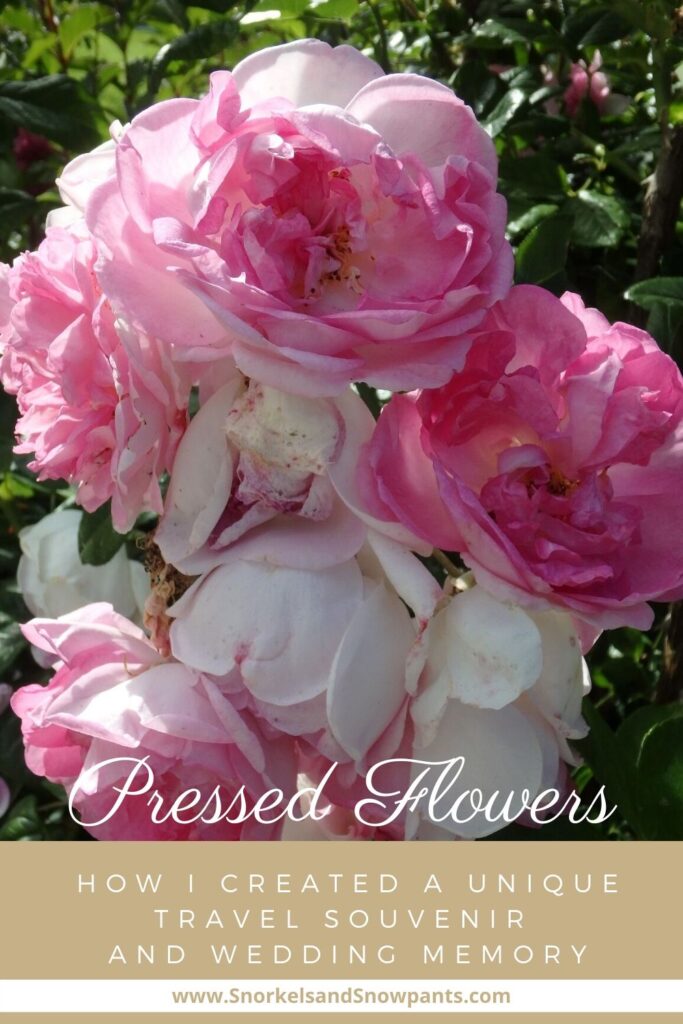
We’re still in lockdown, so it seems like a pretty good time to share some of my DIY projects! Today, let’s talk about preserving memories, the sort that can wilt. I have to admit, when I think of pressed flowers, I tend to think of great aunts and doilies. However, it doesn’t have to be that way. I decided to press and frame two important plants- some from my wedding day, and some from my first anniversary. Of course, this ties back to a trip, so it’s not only a wedding related memory, but a fantastic travel reminder too.
I didn’t save my wedding bouquet, but my tabletop arrangements did double, or triple, duty. Since it was a DIY wedding, I created the centerpieces myself using ferns. I wanted an eco-friendly decoration I could plant in our yard after the wedding. I did, and I love seeing them come up every spring! I snipped a few fronds to press.
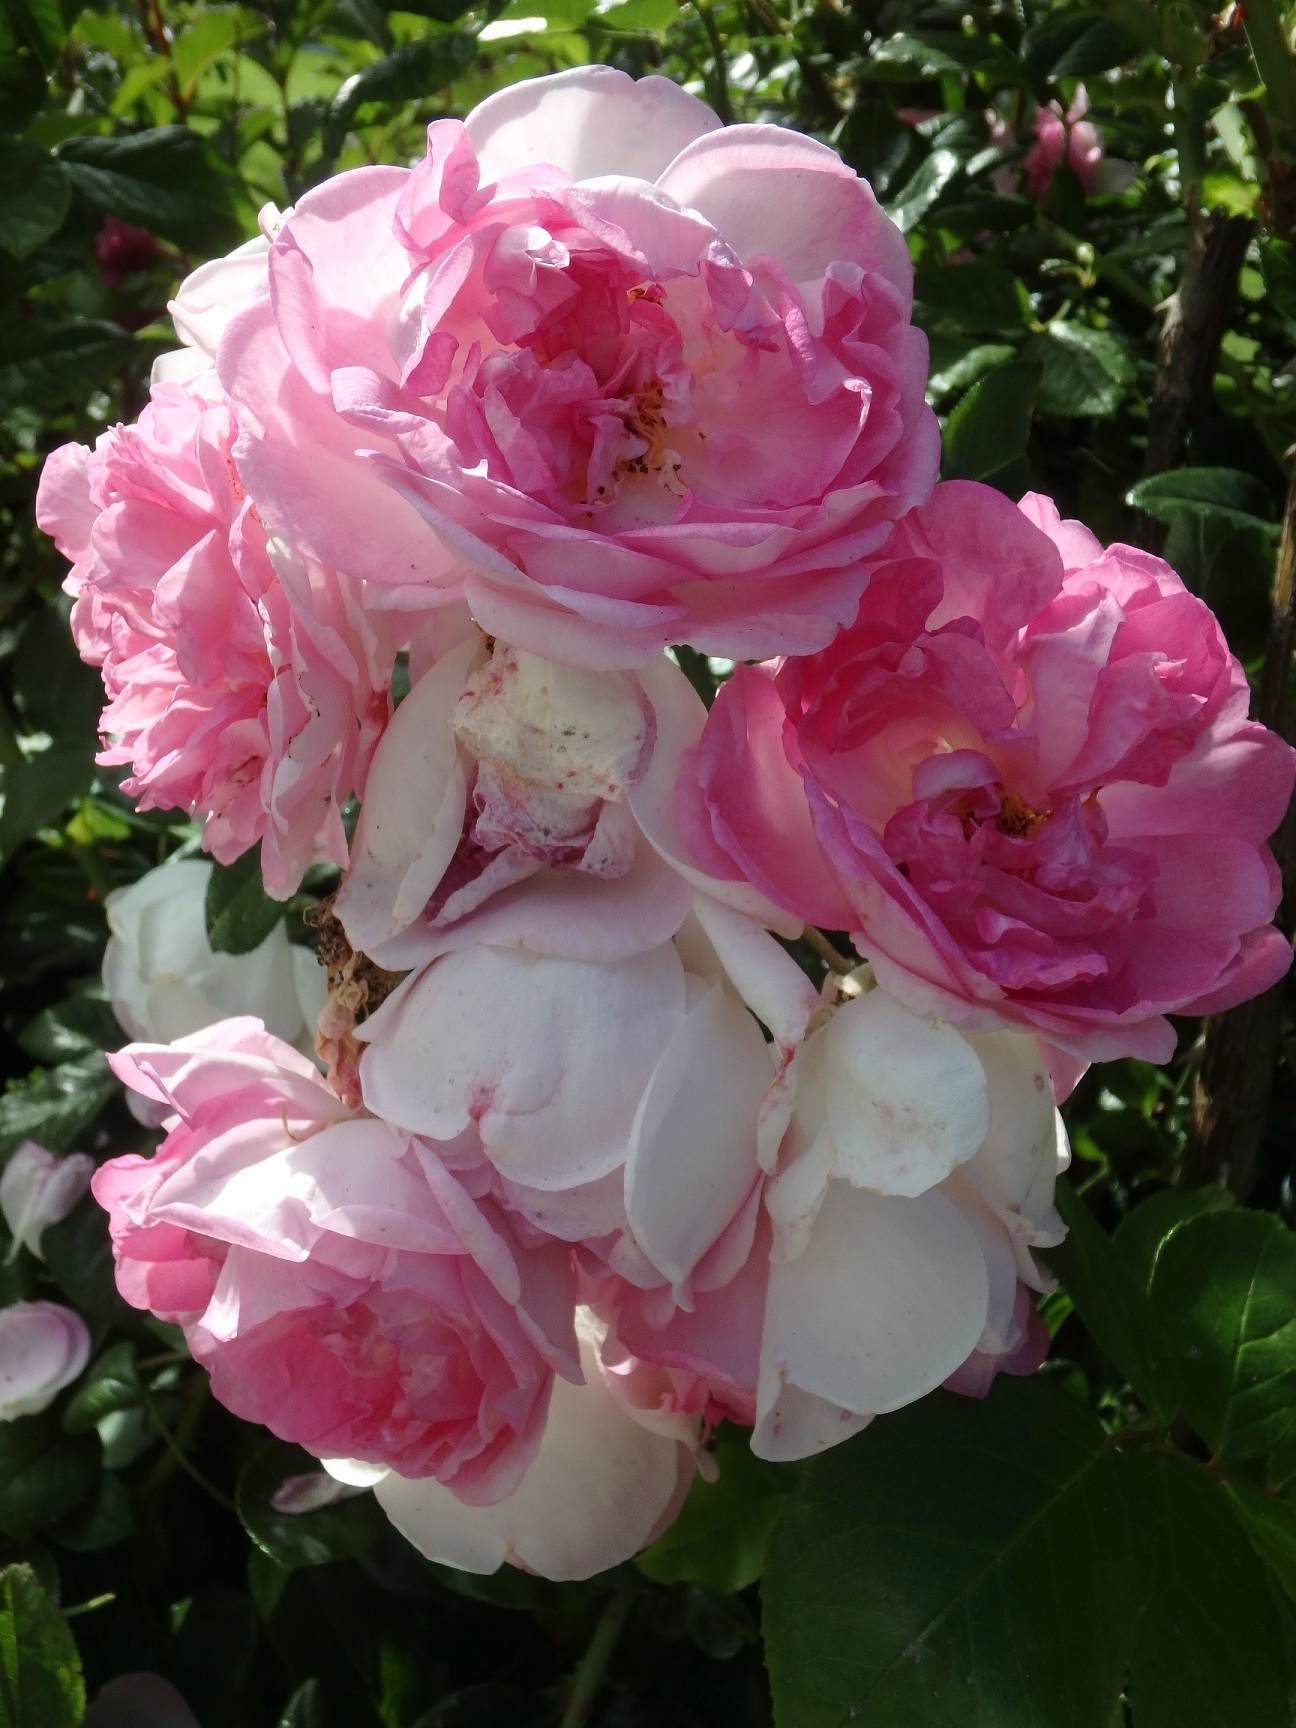
Next up, for our first anniversary we visited Norway. We spent the actual day, and those leading up to it, at the Fretheim Hotel in Flåm. It’s a gorgeous historic hotel, right on the fjords, surrounded by lovely gardens. We arrived to find a beautiful, fresh bouquet in our room! When it was time to leave for Gudvangen, I pressed some of the flowers in a visitors guide (about historic Norwegian hotels!). I’d never seen Astilbe before, and absolutely fell in love with it. They’re like pink ferns!
The Pressing
Supplies:
- Wax paper
- Heavy books or weights
- Original Tacky Glue
- Thick scrapbooking paper
- Tweezers
- Toothpicks
- Frame
Obviously, you’ll want to press as fresh a plant as possible. I placed mine in wax paper within a huge, illustrated copy of The Silmarillion, and then piled a few heavy history books on top of that! I left the ferns and flowers for about 2 weeks. Be sure the plants are completely dry before removing them. Better to leave them pressing an extra week or two than use them before they’re fully dried.
In the meantime, pickup the rest of your supplies at the craft store. I chose a background I liked from the scrapbooking supplies- the thicker the stock, the better. Any clear, craft glue should be fine for pressed plants, but I wanted one that wouldn’t be too acidic or damaging in the long run, so I used Aleene’s Original Tacky Glue.
Once you’re ready, use tweezers to handle the plants delicately, and toothpicks to spread the glue. I applied the glue directly to the back of the plants and then pressed them onto the paper. I let everything dry overnight, and then framed it. Custom framing is hella expensive, so I picked 12×12 paper and a frame, and just placed the plants accordingly. I found the frame on Amazon for $15.
All set, we hung the flowers next to our wedding and anniversary photo frame. It might not be 100% professional, but I was perfectly happy with the result. It fits our rustic and nature centered house. Not only did I save wedding plants, but first anniversary flowers too, tied to a wonderful trip!